Thursday, March 29, 2012

Basement walls and upstairs floor trusses!

Basement walls and the majority of the floor trusses are on! A good portion of the flooring is also glued and nailed down. It's pretty freaking amazing to see it come together.

The partial Deltec wall/partial ICF wall caused a bit of stress/figuring, no big delays, but I can see the value of staying all one wall type per level now. I don't think I'd change how I did it, but it would be more of a coin toss if I were doing it again now. I'd also advise making a ICF foundation about 1/2 an inch tighter than the Deltec plans so a little bit of bow/variation in the ICF stays within the skirt perimeter. It works either way, but room to move and for a bit of variation is good.


Cast and Crew

Where did my manners go? I failed to introduce you to the cast and crew of our little project before the last post.

--I'm short a few photos of people, so this will be updated as I track them down!

Jeff, the star of the build. He's a perfect fit for the crew and the projects needs. He has been building/leading Deltec builds for 30+ years. He's an independent, certified by Deltec, consultant. His web site is..... Pioneer Building  Even after only 3 days I can firmly say, if you are building a Deltec (which I also think is a darn good idea), hire Jeff to lead your local contractors to build the shell. If he were local I'd hire him for the entire shell and interior build.


The carpentry crew is a team from Envinity. They have done a couple other projects for me leading up to this build, specifically solar panels and the deck on the yurt. I'm hoping/intending for them to lead/do the interior build. Great guys, excellent attitude, great work ethic, an amusing set of personalities. Chris, Andrew, Jon, Mark and a second Jon are the main crew.

 Andrew

Chris

Mike

Tall Jon

Missing Picture!
Birder Jon

My people include my parents and some friends/employees. Dad's got a bunch of building experience and Mom is making and providing hot lunches for everyone, which is super awesome and enables people to focus on the project knowing that good food is never far away.

Mom (Pat) hard at work providing for the troops!

Dad (Jim)
I can't seem to catch a picture of him at the job site, he never stops moving and works too quickly for camera shots. Luckily his batteries occasionally need recharging, making him able to be caught on camera.


In addition Aaron, Elise, Chelsea and Kristina have all been working hard and are keeping the build moving. Amanda has mainly been holding the business together while we have been building the house, but I'll see if I can catch a picture of her in action soon.

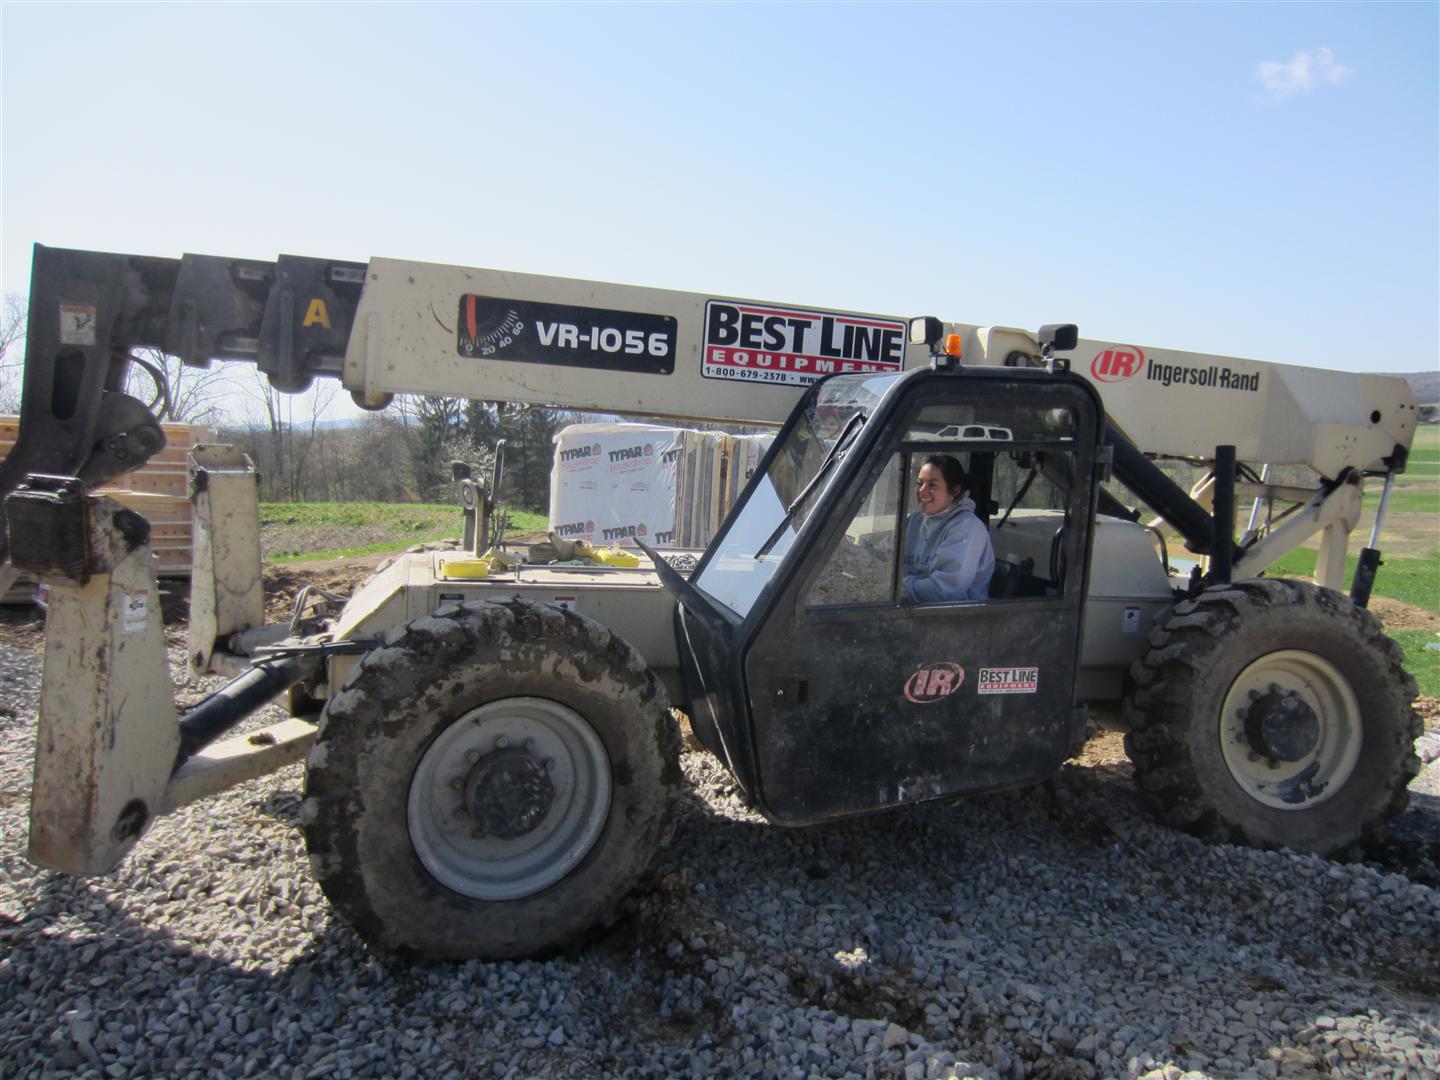
Elise, happy as can be!

Kristina, hiding from the camera behind a ladder while nailing walls down.

 Aaron

Chelsea (lifting the entire floor solo).


Tuesday, March 27, 2012

Unloading!

First two days of the build have gone well. Mainly truck unload and organization. I'm pretty tired, so no particular wit or commentary from me tonight.

 Started with single panel unloading. The lack of padding made the amount of scraping and paint damage quite unacceptable.


Full packs of panels unloaded as one seemed to fix that and be about 50 times quicker.  Note the expert Best Line Rental product placement.

 Truss unloading.

 Floor trusses. That is a titanic amount of weight!

 Riding around with sliding doors.

Andrew and Chris and the first board! Andrew is the GQ looking guy, Chris is the one working.

 That. Is. A. Lot. Of. Stuff.

Saturday, March 24, 2012

Ready for a house!?

We made it! Foundation and basement floor are in. There are a few concrete and site items left to do (garage floor, window wells, retaining walls, drainage, back-fill) but most should start to come together next week while the shell is going up. Rainy weekend here, with luck things will dry out quickly.


Wednesday, March 21, 2012

Chicken Coop Build

It seems to be the season for chicken coops, so I thought I'd post a few of the construction of mine. I made it largely from scrap and extra materials I had laying around. I decided to insulate it a bit as it can get both hot in  summer and cold in winter here. I did not air seal the rear egg box hatch, I do not close the front door at night and the chickens have shown no sign of any cold stress in the last two winters.

Basically I built a simple frame from 2x4's and pressure treated 4x4's and press fit/screwed some 2" insulation in. For the front door I cut the top off an insulated door that was leftover from the greenhouse which had a window that now doubles perfectly as a chicken entry door. Almost the whole front swings open on the original hinges that were part of the insulated door (I think it might have been a door built for a mobile home). I did put plywood/T111 over all the insulation in the interior so the chickens would not eat it. I had some greenhouse multi-wall plastic that I used for the triangular side windows.

Once the main house was built I bolted it down to some skids so it could be pulled around and made a little screened in area/yard for times when I want to keep them penned up.


It's worth mentioning this design has worked really well. I think the original build was in 2008, it's now 2014 and it's still working great. The insulation keeps eggs from freezing when friends with uninsulated coops are having breakage. We may re-side it with some leftover hardie plank from the house to make it match. The front screened area has failed, the turkies liked to roost on it and it was not designed with a 200+ pound load of turkey on it.

Monday, March 19, 2012

Spring Rides!

Along with gardening and all the house chaos Kristina and I managed to get in a ride on Friday and another on Sunday this past weekend. Friday was a fairly quick 8 mile jaunt around green way trails near her hood.

Sunday we got a bit more ambitious and took on the mountain road from Mingoville, down to Brush valley, the back roads to Centre Hall (where a calzone lunch was had) then down valley to Blackhawk gap and back on State Forest Gravel roads and old abandoned logging roads along Little Fishing Creek. An excellent 25+ mile loop with 2,700+ ft of elevation gain. I'm pretty sure K will never believe me when I say we are just going for a little ride up the hill again. :) I think she's planning payback with 25 mile, mainly paved road, rides that my mountain bike will lag on.


It's actually a surprisingly awesome ride, starting right at the homestead. There is a challenging hill climb to start (same height, but steeper than Purdue Mountain a popular biker hill climb just down the valley), then a gravel mountain road, then valley backroads by Amish and English farms. A good break spot in Centre Hall at a recently remodeled Brothers Pizza and then pretty rapidly back up the mountain and into State Forest, ending with a wonderful, remote feeling, beautiful, stream gap.


Main ICF Done!

The pour for the tall basement ICF walls is done, that was the risky one. The pump truck operator who has been running pumps for 28 years said he'd never seen an ICF pour without at least a small blowout, we had none. Garage footer will be poured tomorrow late in the day, then the stem walls on those footers, basement floor and the piers for decks poured Friday.


Follow by email!

I think I managed to add a follow by email gadget to the blog, which should help some/most of you as it's a pain to have to visit the site just to see if there is a new post.

The compound

So what the heck are all those buildings/structures in the background?

The compound currently consists of a geodesic dome greenhouse, a yurt, a pole building, a mobile chicken coop, a covered wagon/tent thing for young poultry on a old trailer frame and three metal shipping containers.

Photos and an overview of these are below, a few will get more detailed posts in the future (Greenhouse, chicken coop).

When I first purchased the land my priorities were to figure out how to live here prior to a house build, to make a home for the business that allows all this to exist and to get some of the infrastructure for an eventual home installed (well, septic, driveway).

My first priority was really the shop/office/garage as without a functional place to work, the wheels rapidly fall off the wagon. A pole building with a finished interior was my solution. It's about 20% office 40% workshop (bath and laundry shoehorned into that space) and 40% garage. I don't seem to have any good exterior pictures. I'll rectify that shortly and edit this post.

Second up was the yurt, zoned as an accessory structure, they do not meet code for a dwelling (but man, they are nicer than most dwellings, I'm not sure why  any law should discriminate against people wanting to live in one). It's basically a more or less permanent tent. It has served well as bedroom and living room for the last few years. It's heated by a wood stove, all the wood has come from either remains from the logging on the property that happened prior to my purchasing or storm downed wood. With the wood stove going, it stays plenty toasty even on the few -10 degree F nights we get most winters.

Yurt in winter


Yurt interior

One of my employees, Amanda, is into raising poultry so we collaborated (and continue to as the adults pardoned at Thanksgiving have breed and with luck will be with us for a long time) on a turkey raising project. For shelter between the very young stage (when they need to be indoors and in a heated area) and when they can be outside 24/7 we built a turkey shelter on an old trailer bed. It's mainly cattle panel (the metal mesh) covered with canvass tarp. A couple RV leveling legs on the corners enables stability.


Greenhouse in fall. Specs, features and "Why this greenhouse?" saved for a future post.


Chicken coop, surrounded by young turkey. Designed so it can protect a small outdoor area, eventually I protected a larger area with electric fence so the poultry could roam and be fairly protected.